🎉 BattleFalcon Factory Anniversary Sale
Limited-Time 7-Day Offer · Full Kit Included
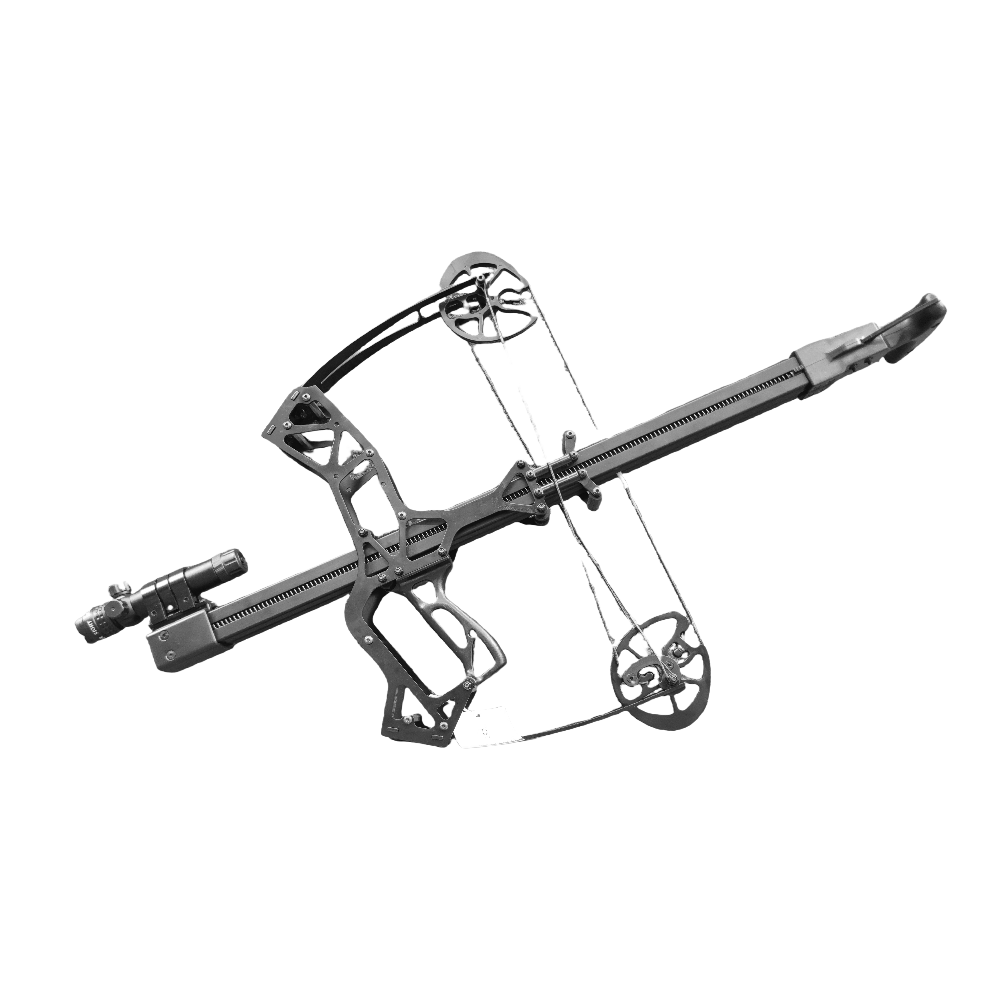
AR16a Rapid-Fire Bow
Factory Anniversary Special · 7 Days Only
$149.9
$288
*Factory anniversary offer ends in 7 days
FREE SHIPPING & INSURANCE ON ALL ORDERS — GUARANTEED DELIVERY
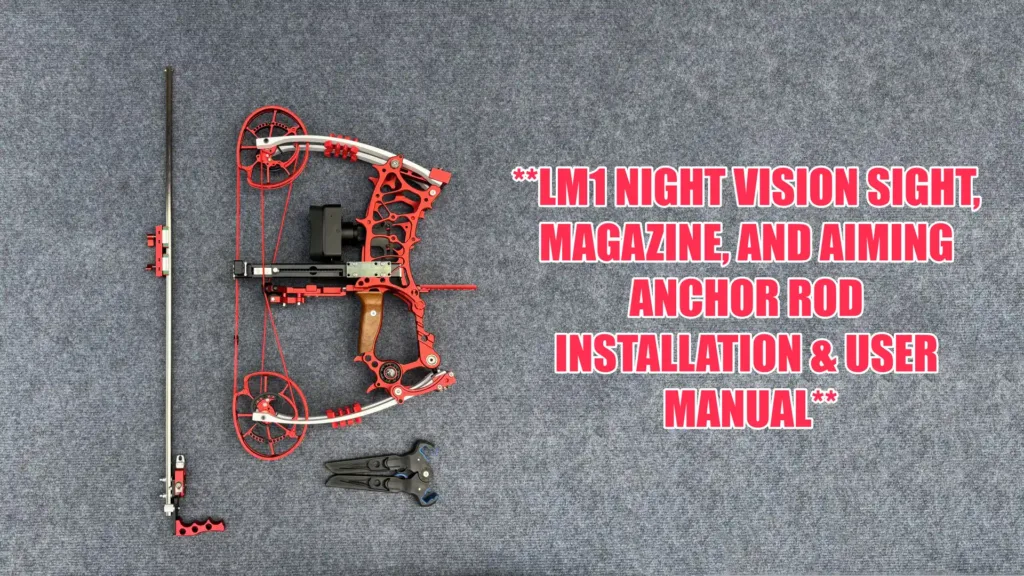
LM1 INSTALLATION MODULE
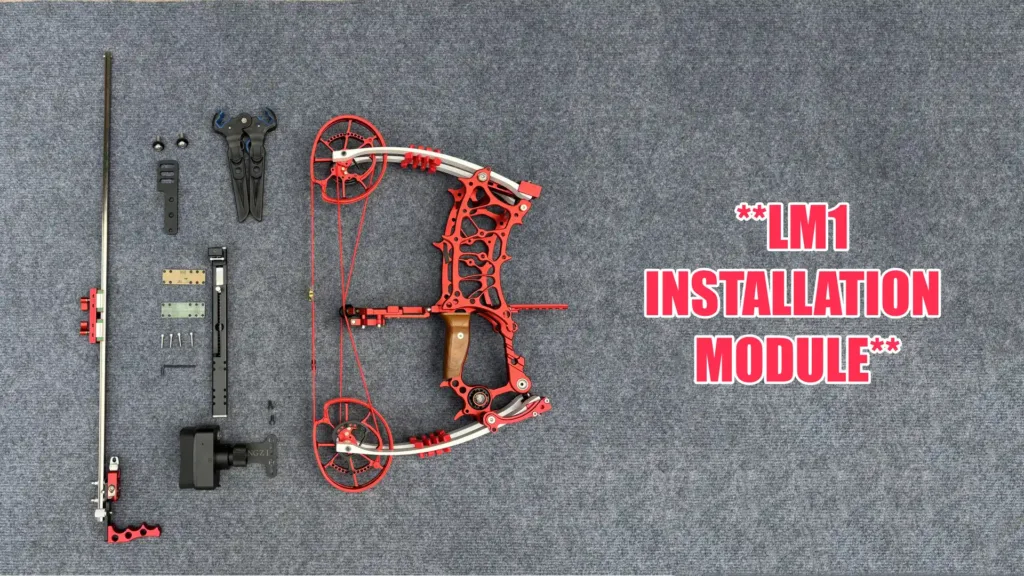
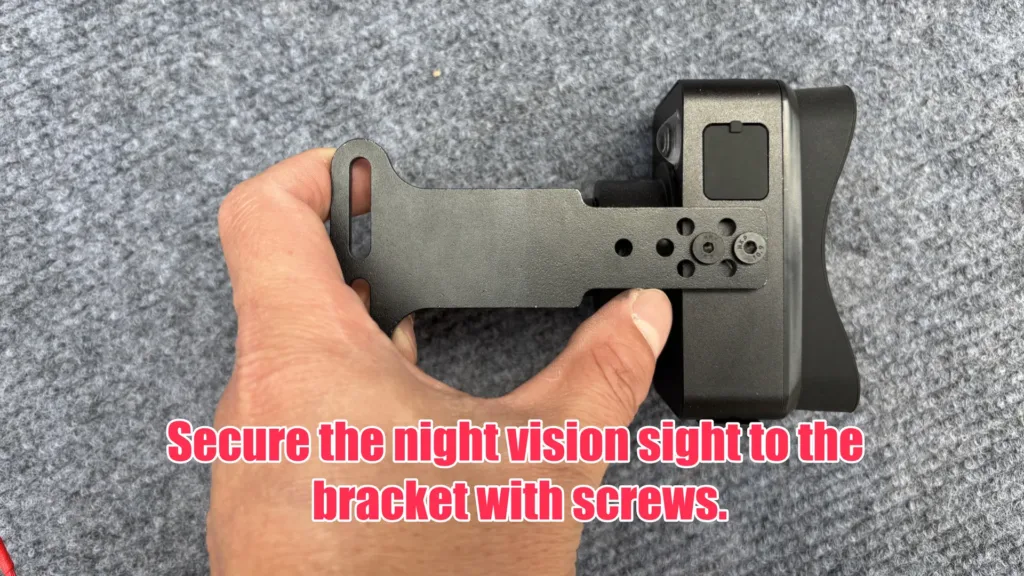
The holes on the night vision sight bracket can be used to adjust the mounting position of the night vision sight.
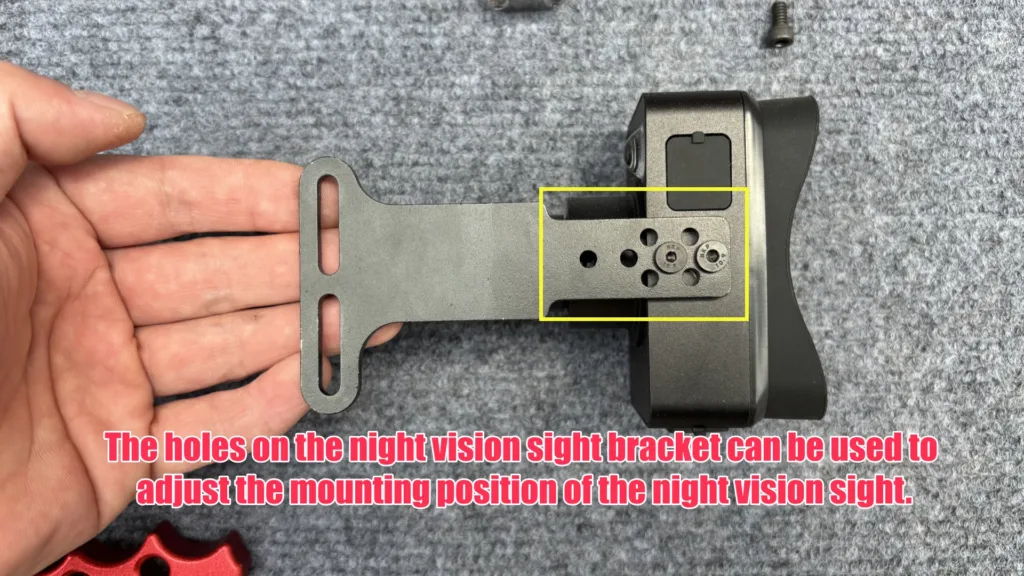
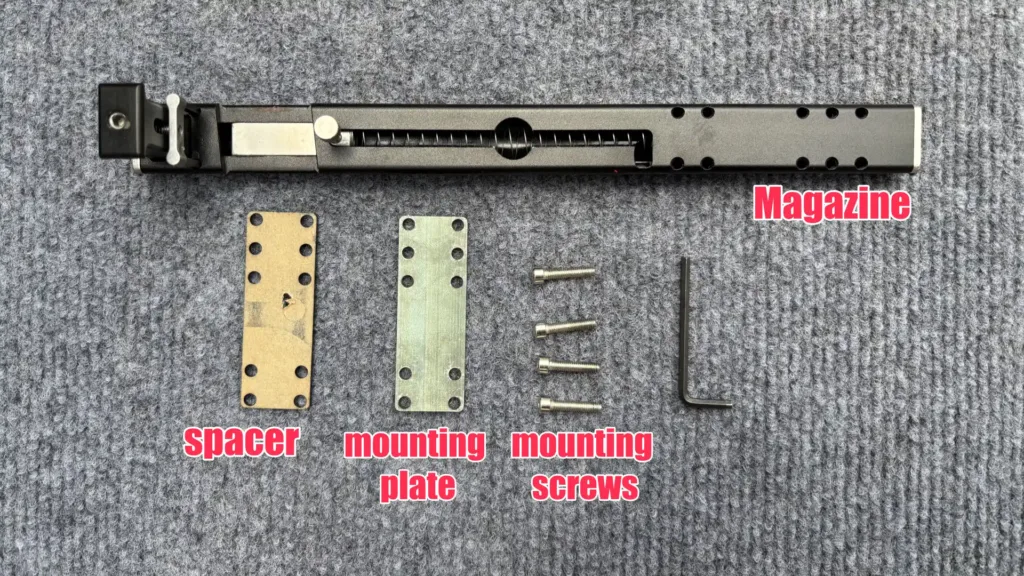
Magazine, spacer, mounting plate, and mounting screws
Release aid, slider, and mounting bracket
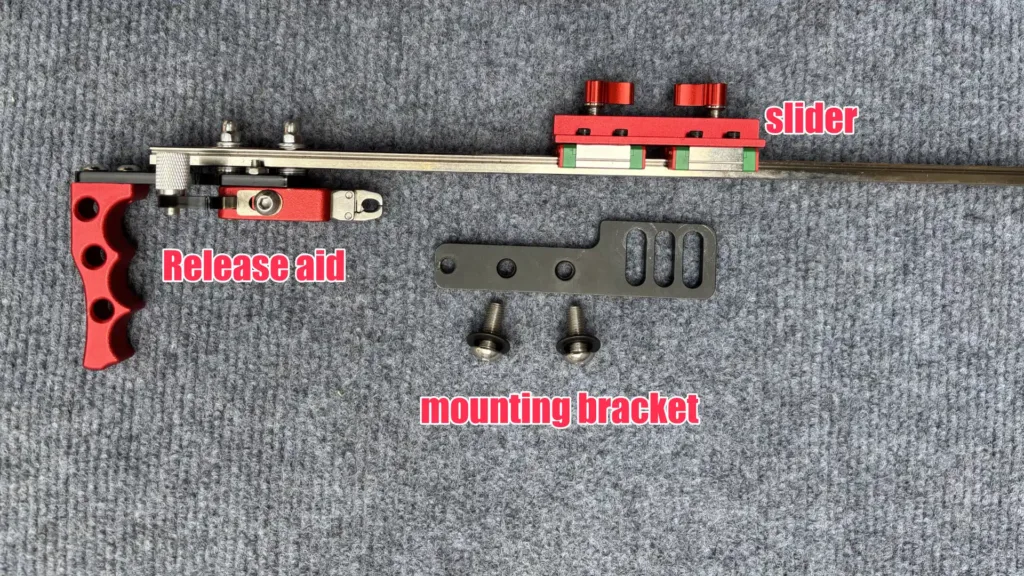
Release aid, slider, and mounting bracket
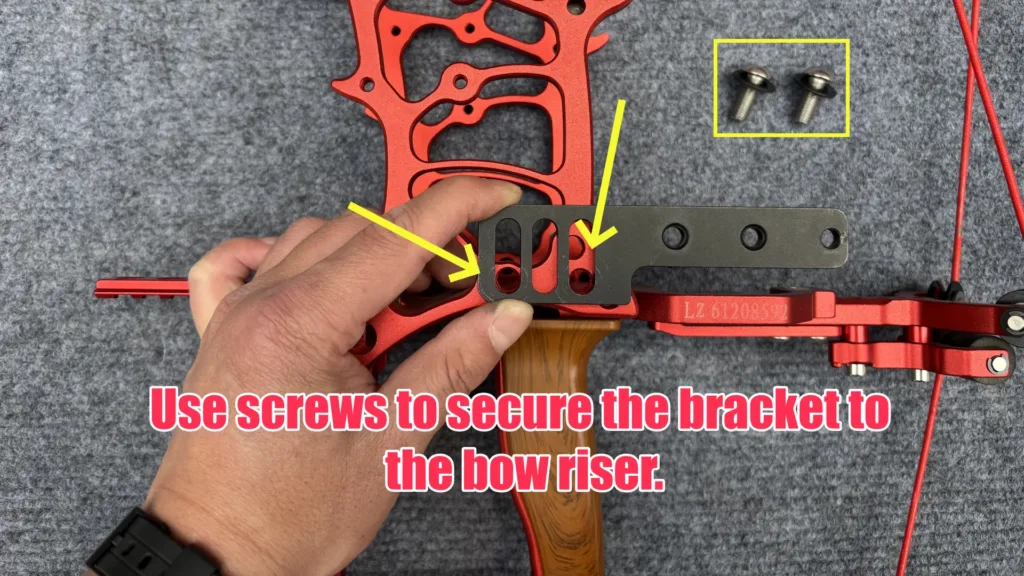
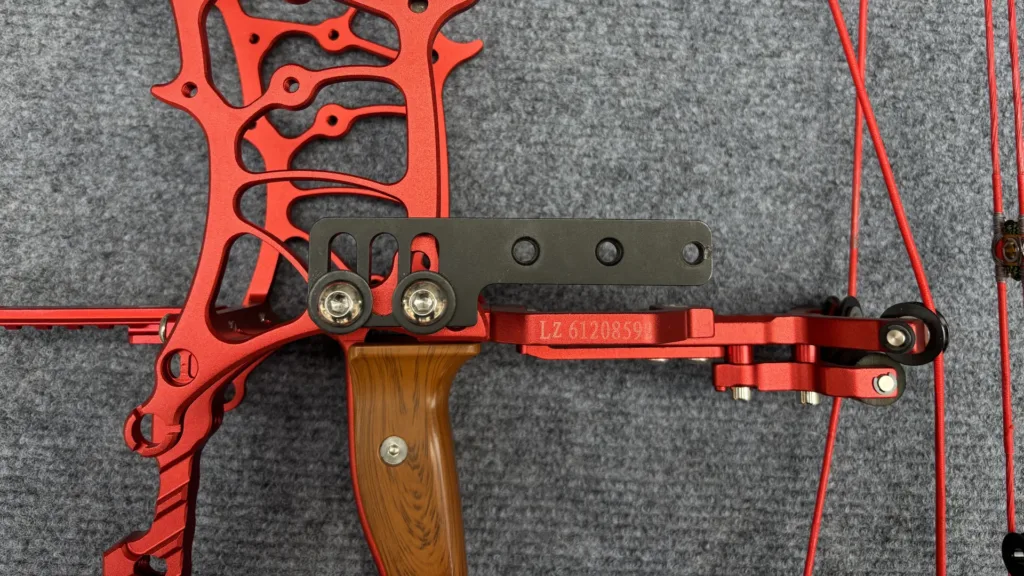
Secure the night vision sight to the bracket with screws.
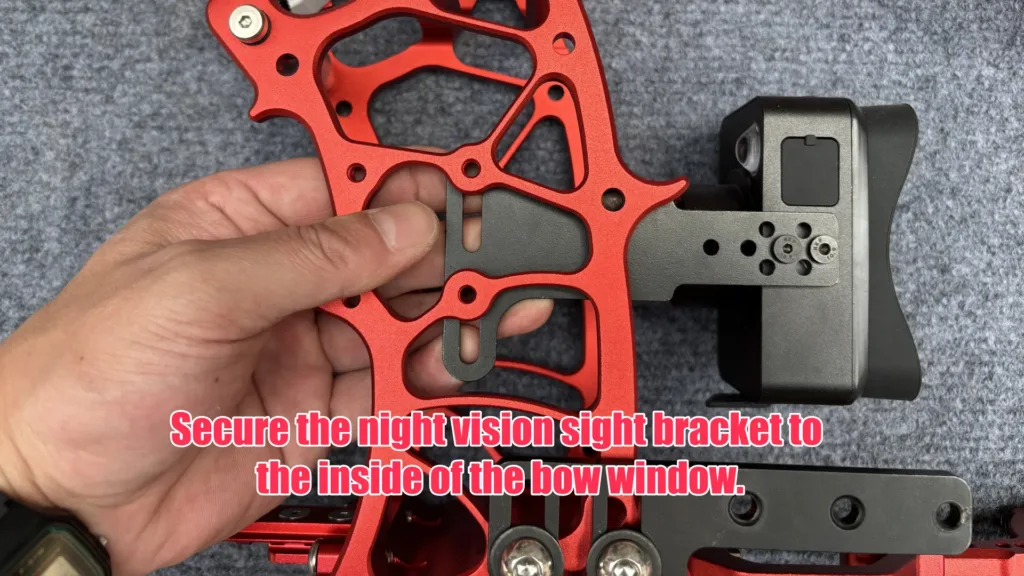
Secure the night vision sight bracket to the inside of the bow window.
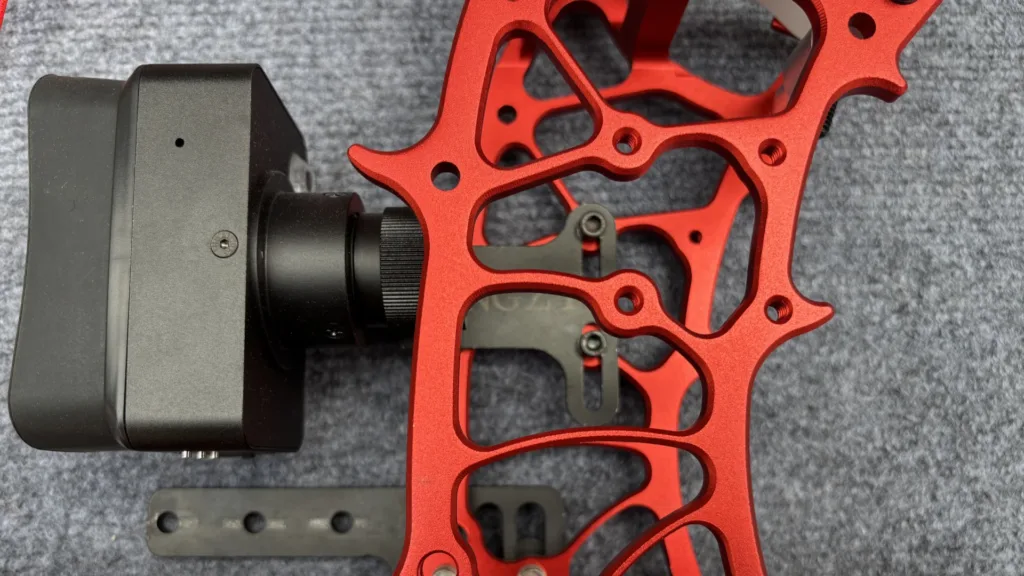
Secure the magazine to the inside of the bow window.
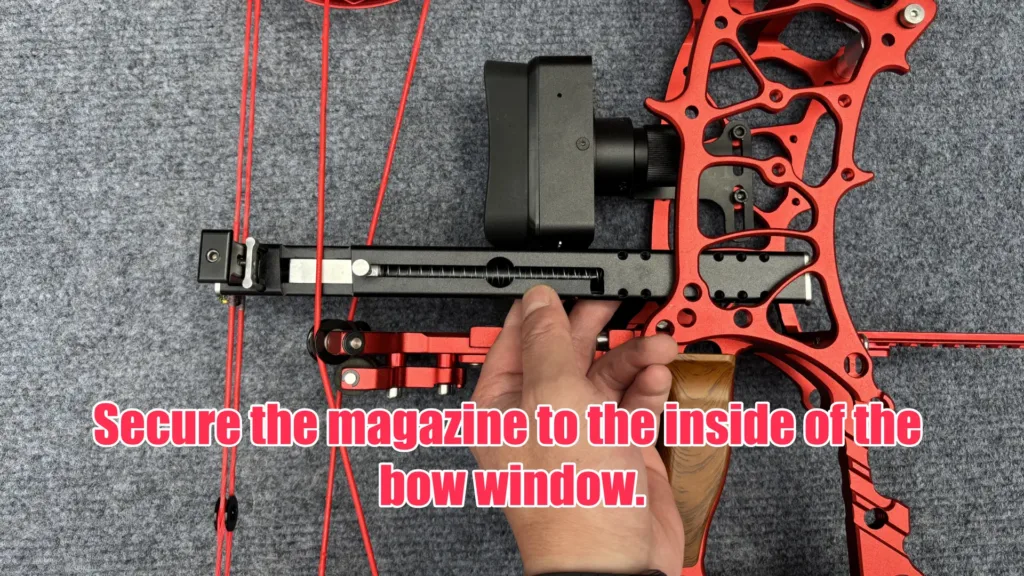
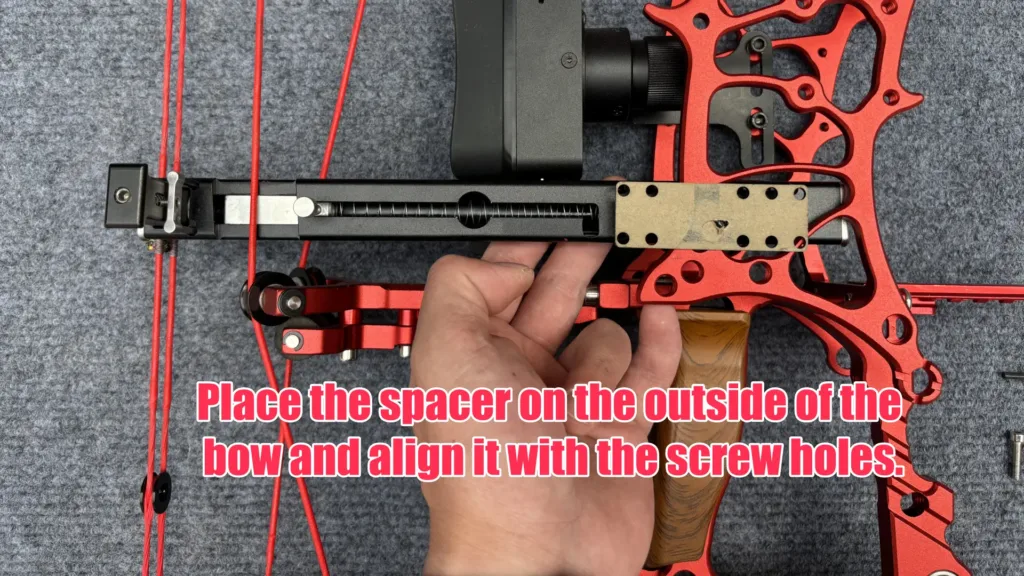
Place the spacer on the outside of the bow and align it with the screw holes.
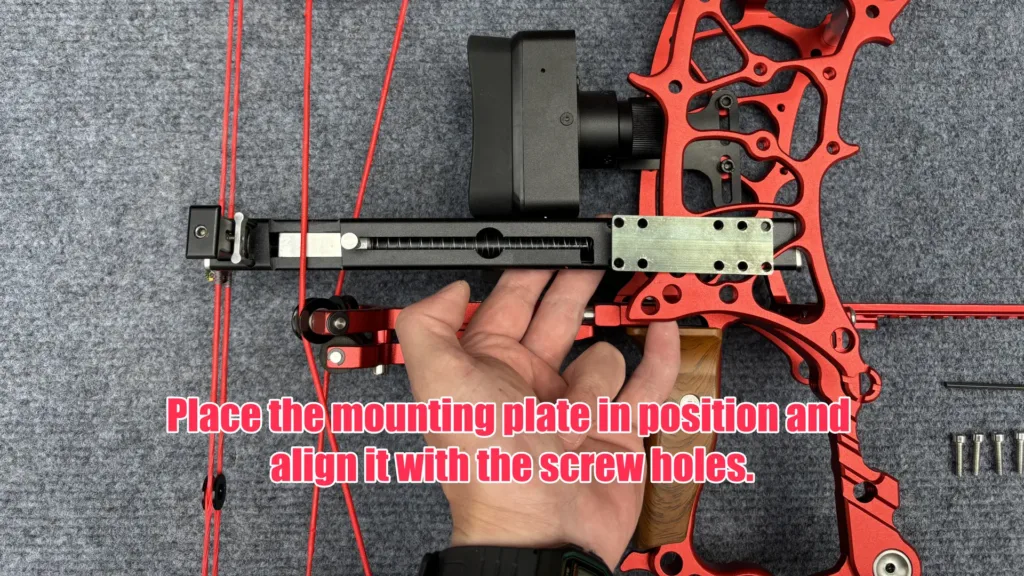
Place the mounting plate in position and align it with the screw holes.
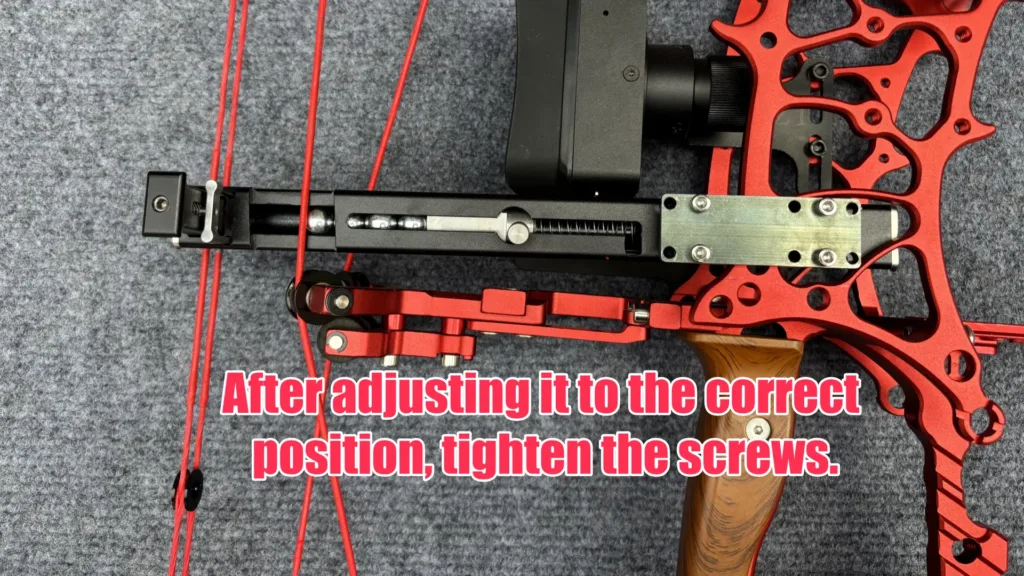
After adjusting it to the correct position, tighten the screws.
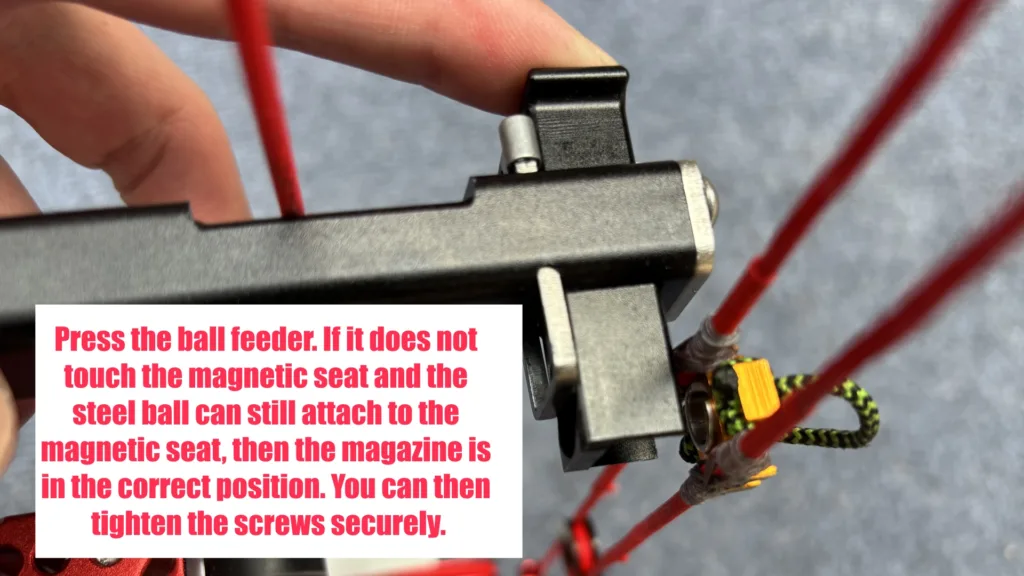
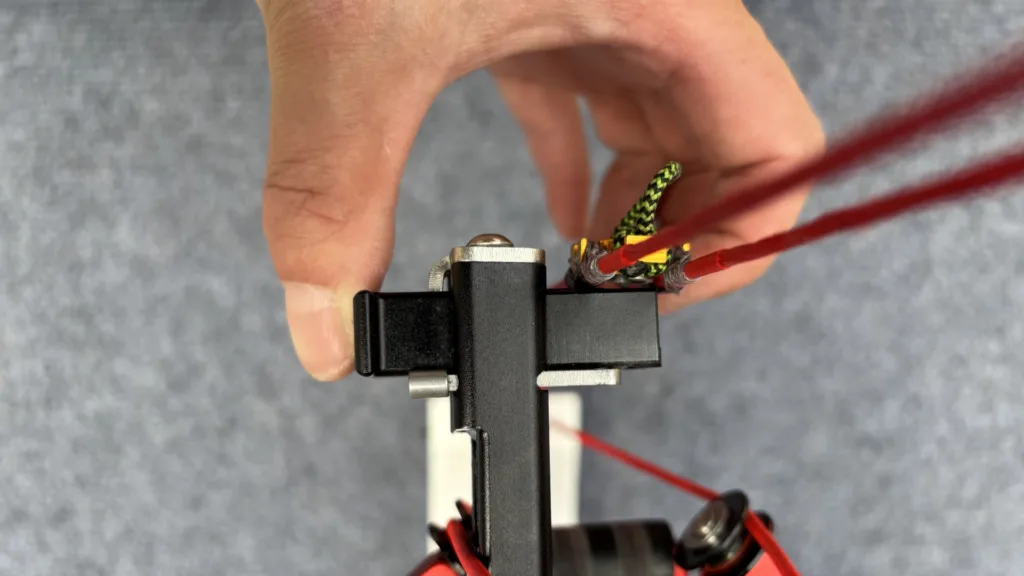
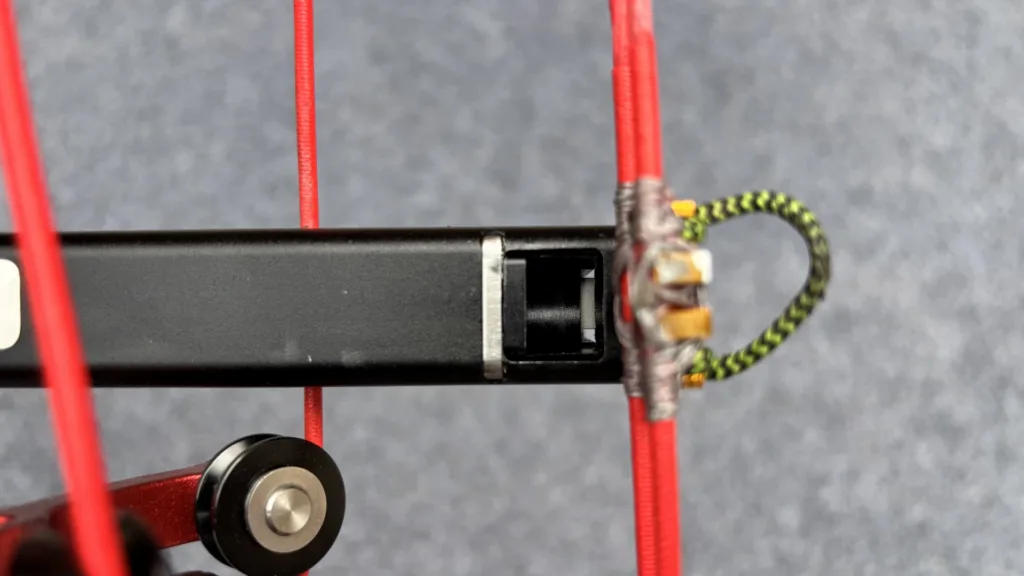
The ball feeder must be aligned with the steel ball magnetic seat.
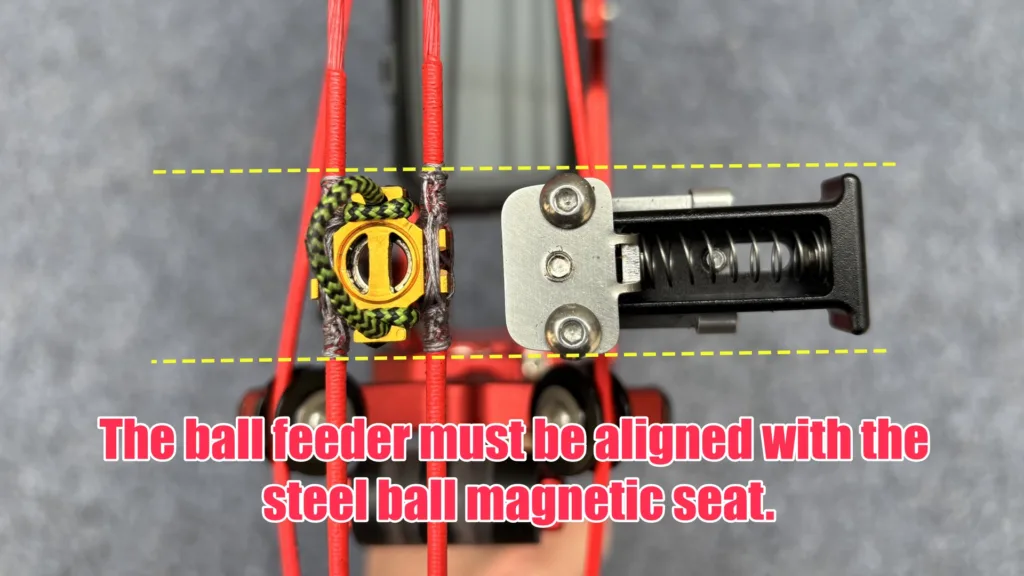
Press the ball feeder. If it does not touch the magnetic seat and the steel ball can still attach to the magnetic seat, then the magazine is in the correct position. You can then tighten the screws securely.
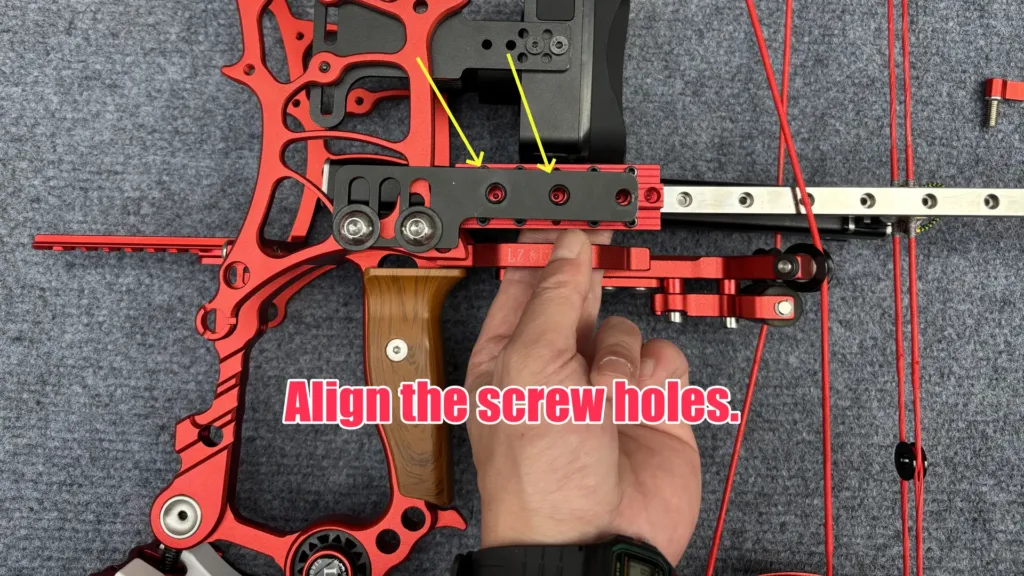
Install the aiming anchor rod.
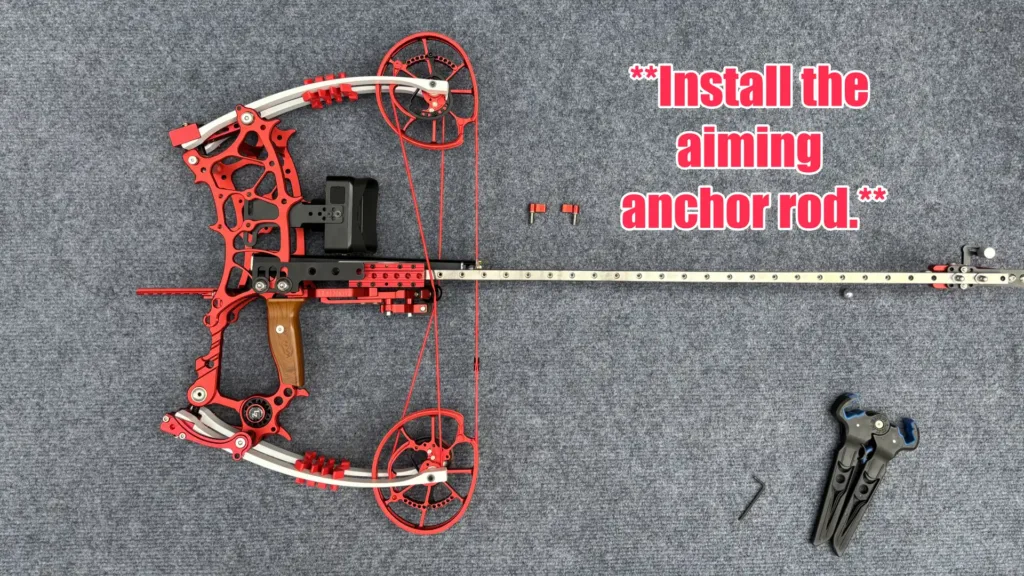
Align the screw holes.
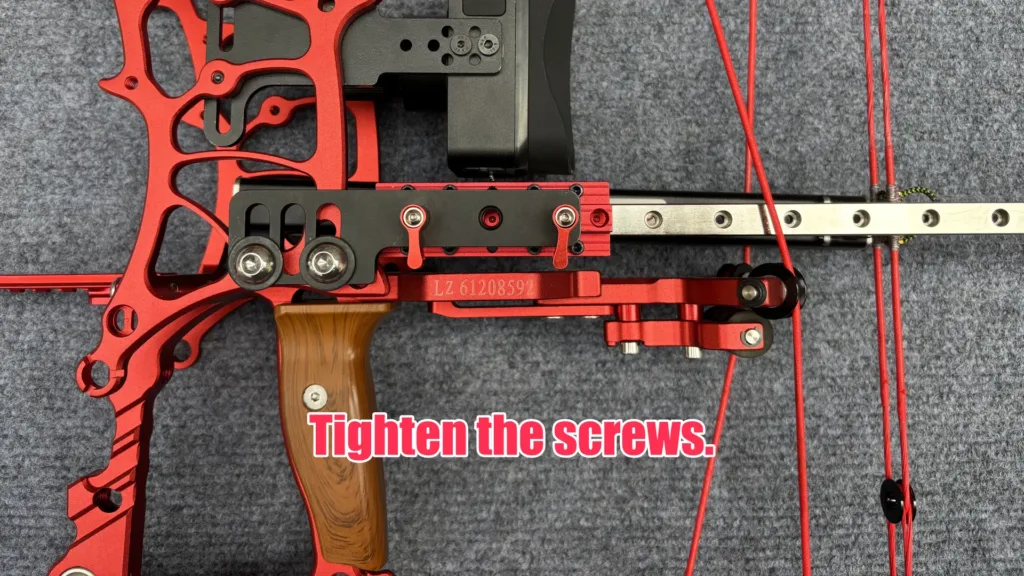
Tighten the screws.
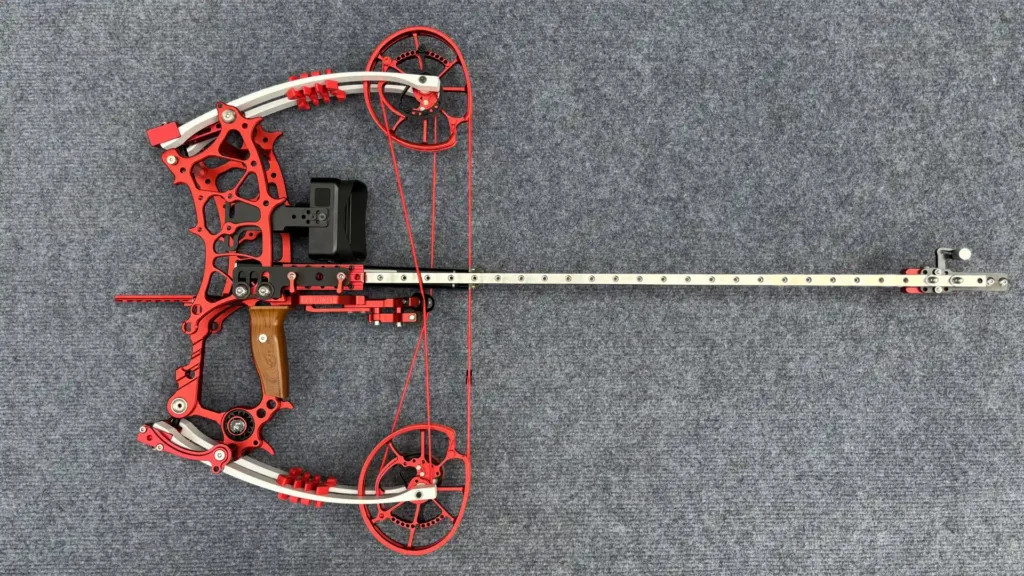
Installation completed.
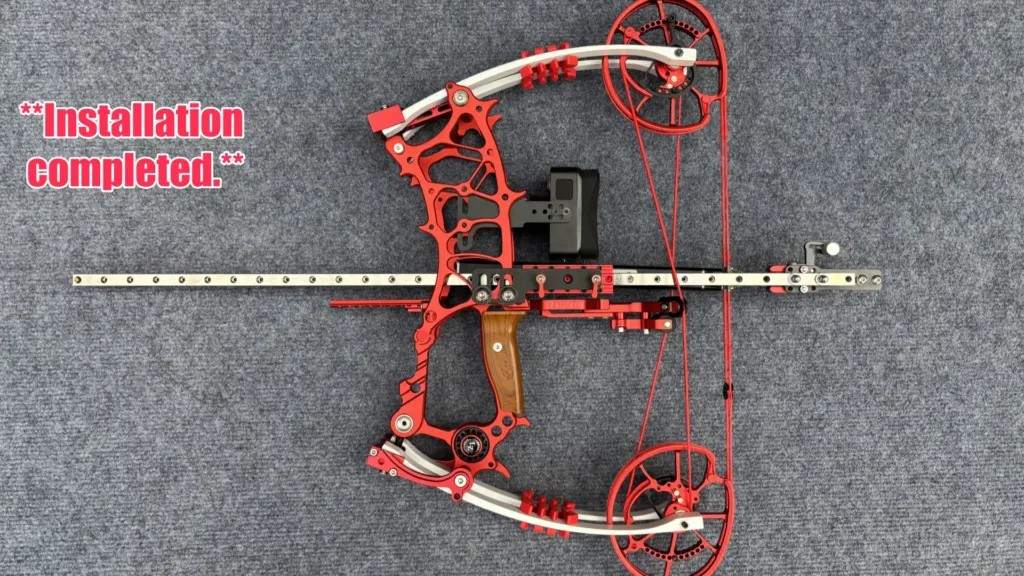
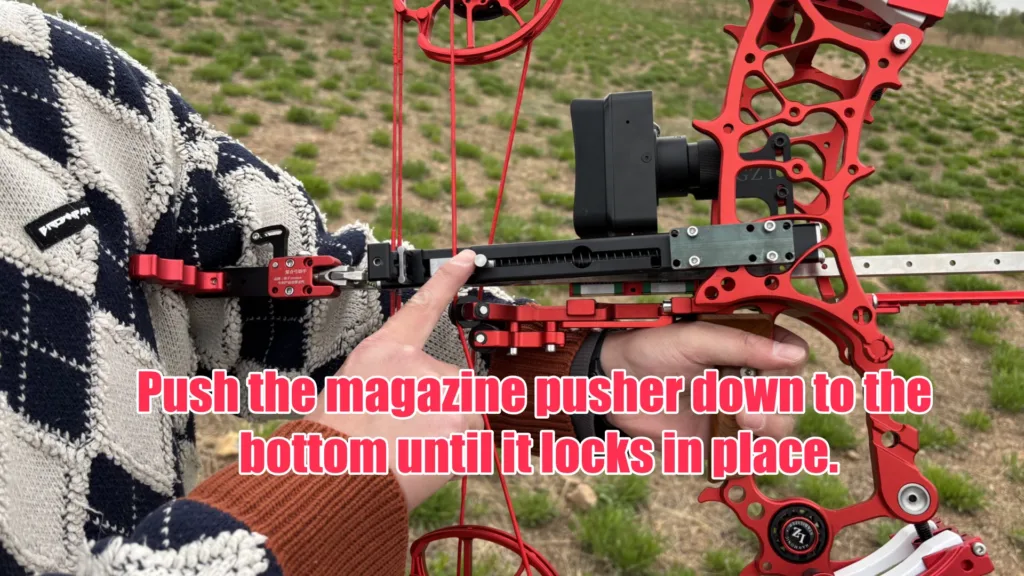
Push the magazine pusher down to the bottom until it locks in place.
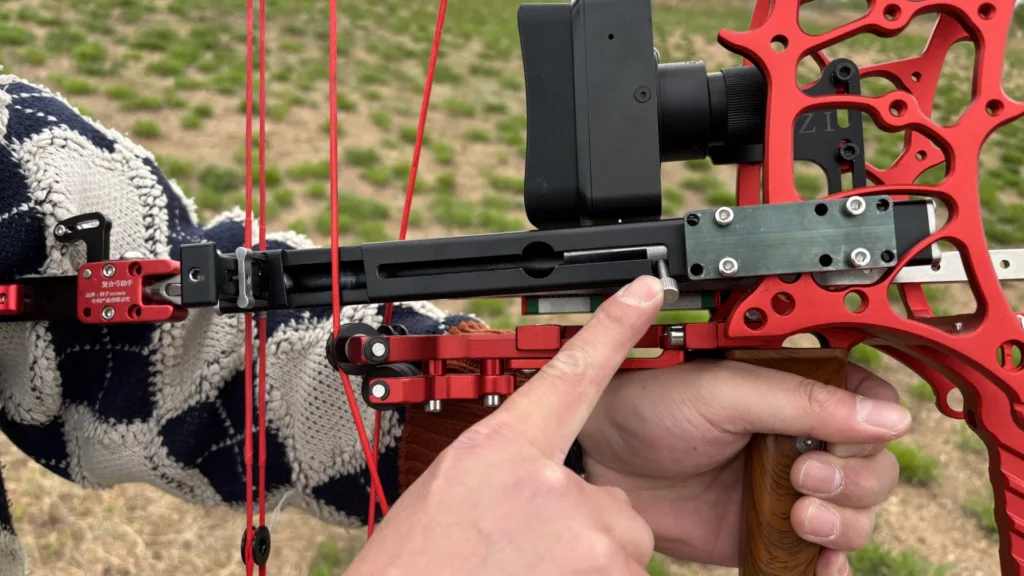
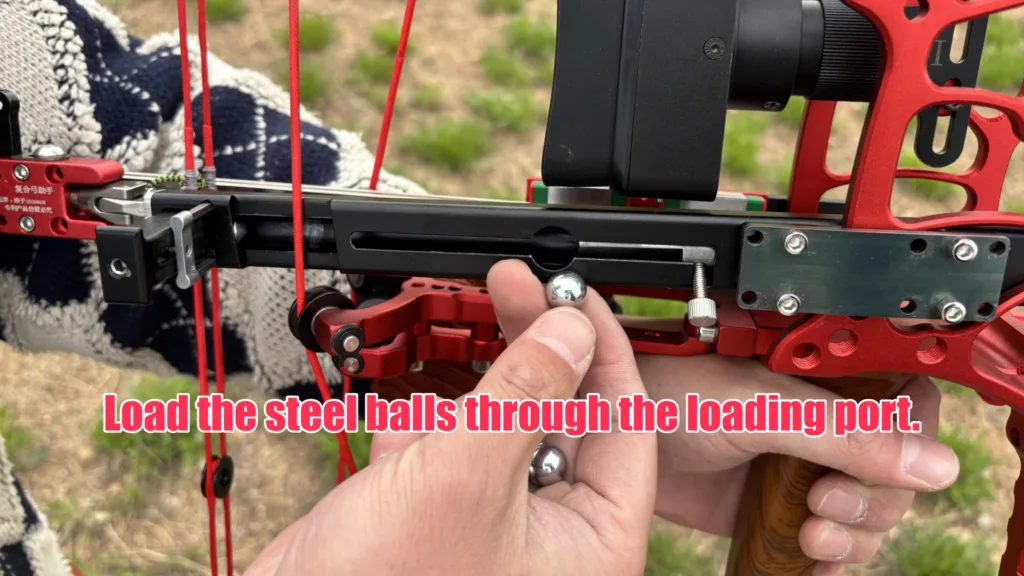
Load the steel balls through the loading port.
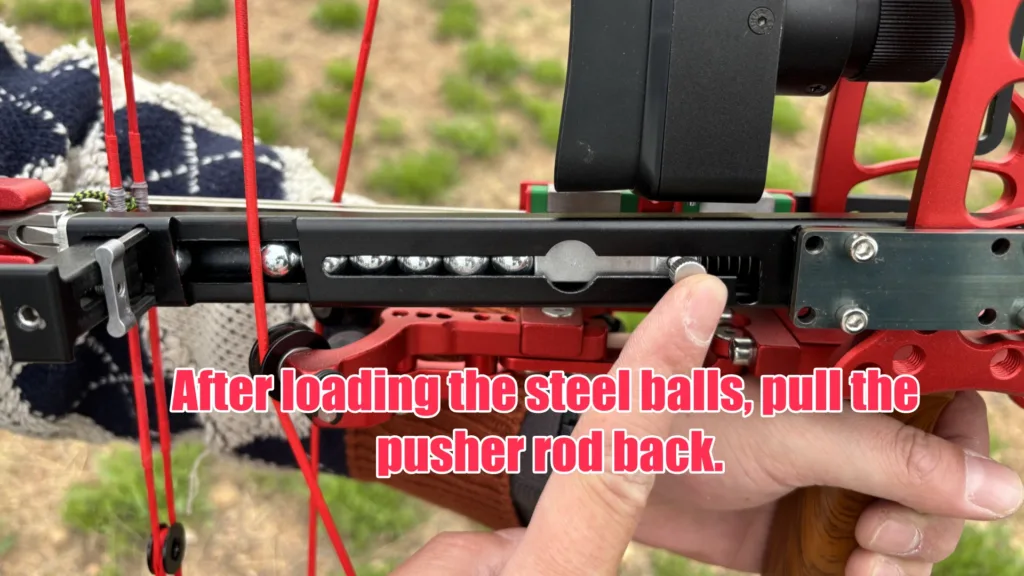
After loading the steel balls, pull the pusher rod back.
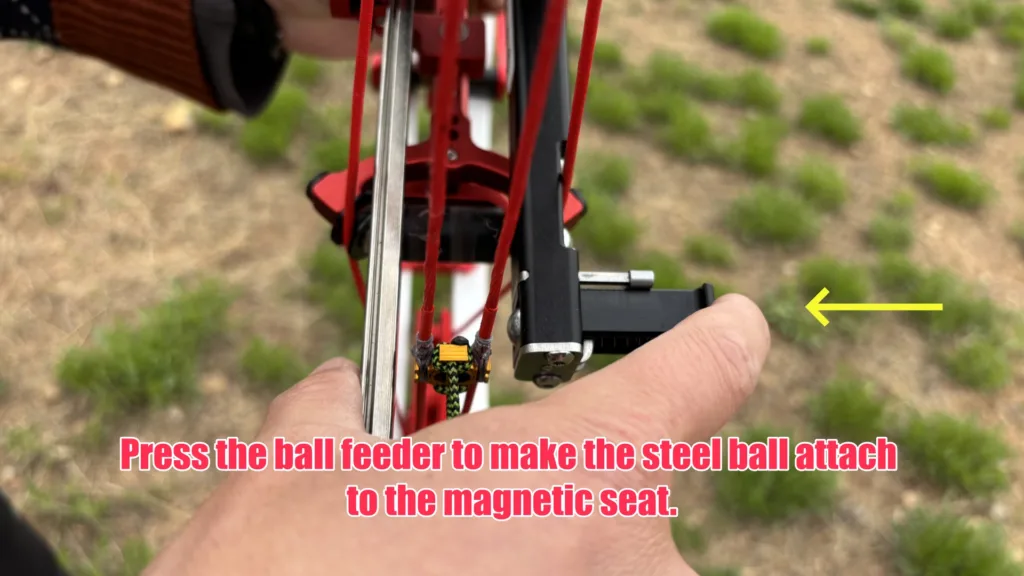
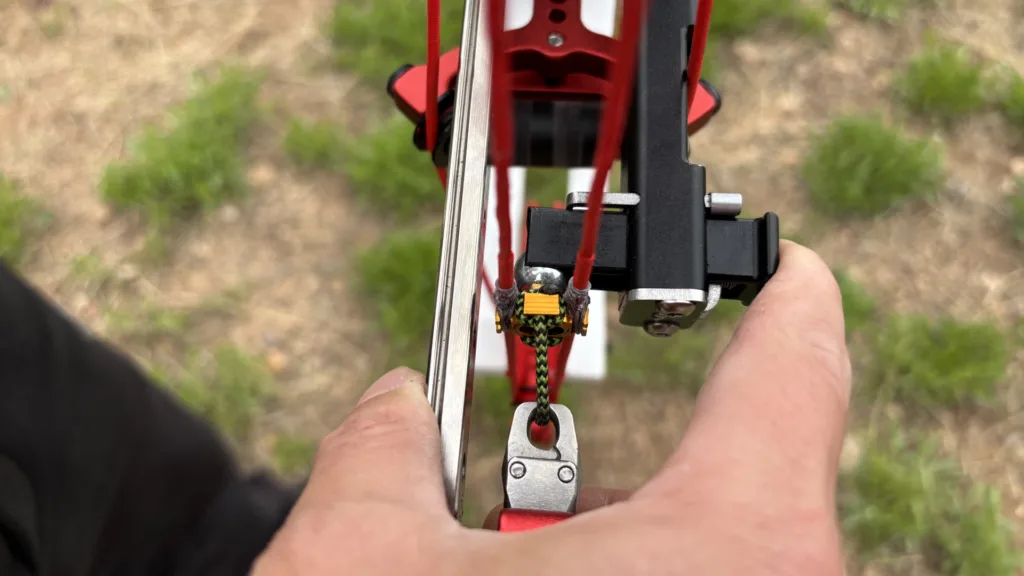
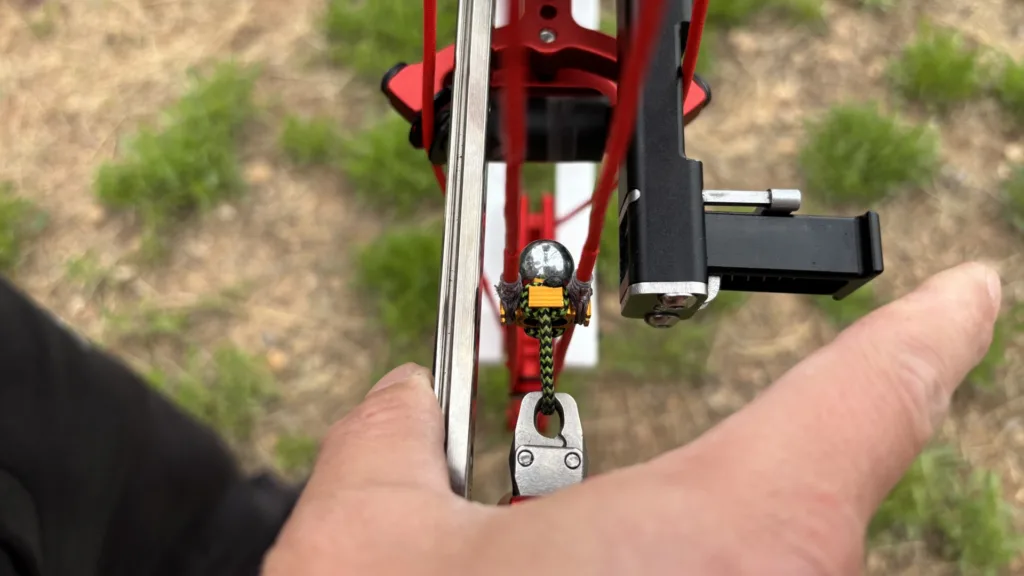
Press the ball feeder to make the steel ball attach to the magnetic seat.
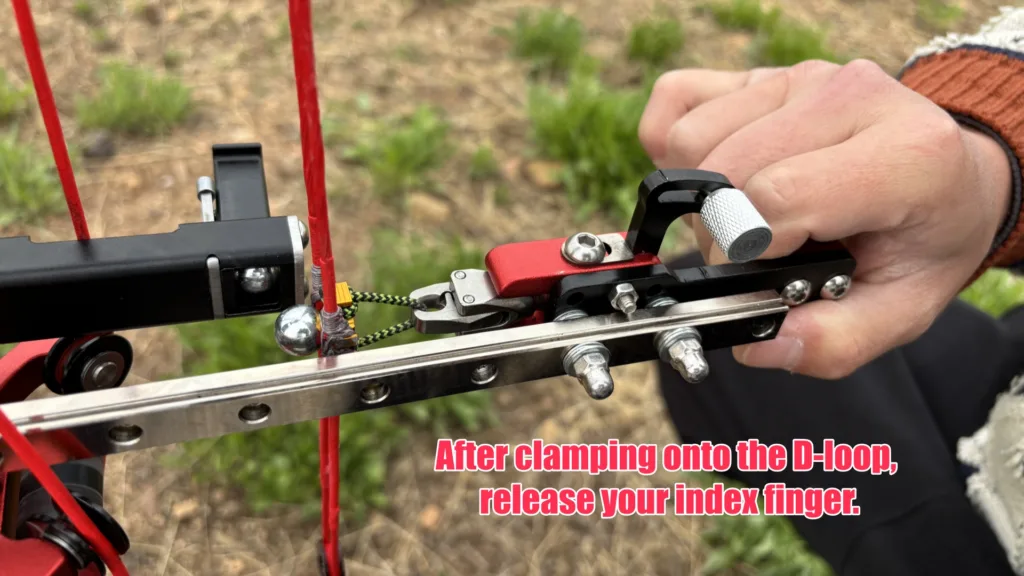
Press the release trigger with your index finger to open the jaws and clamp onto the D-loop.
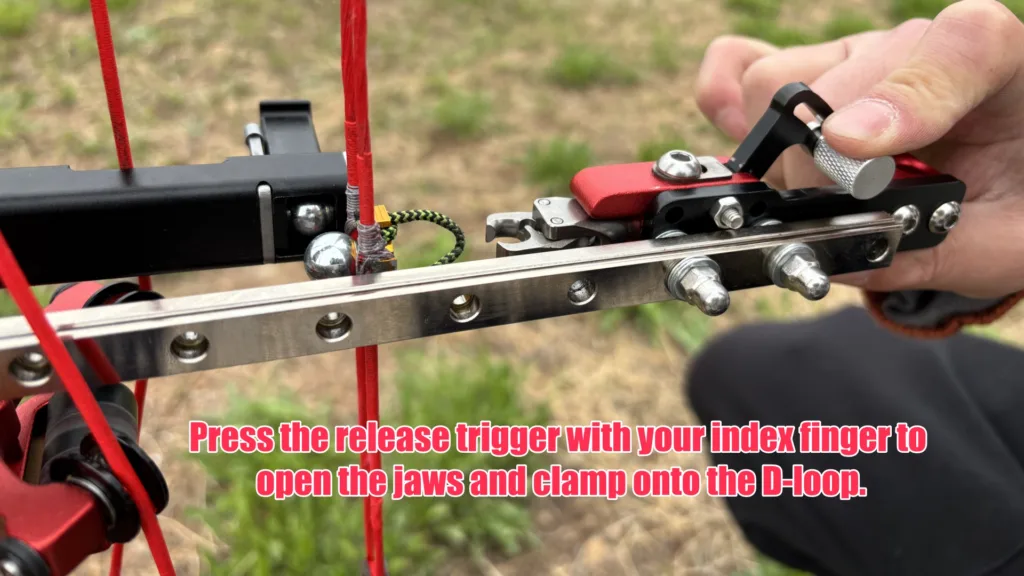
After clamping onto the D-loop, release your index finger.
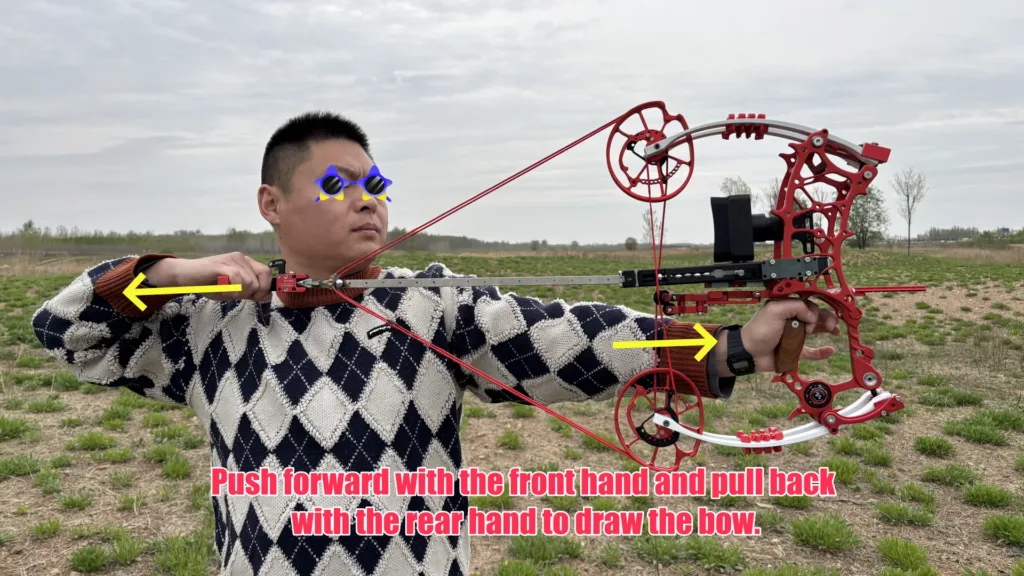
Push forward with the front hand and pull back with the rear hand to draw the bow.
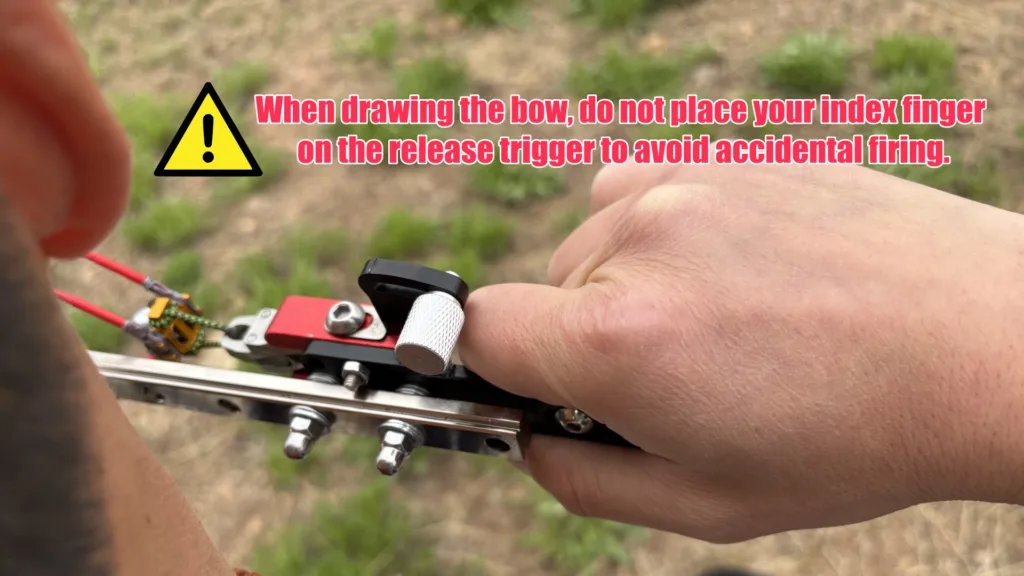
When drawing the bow, do not place your index finger on the release trigger to avoid accidental firing.
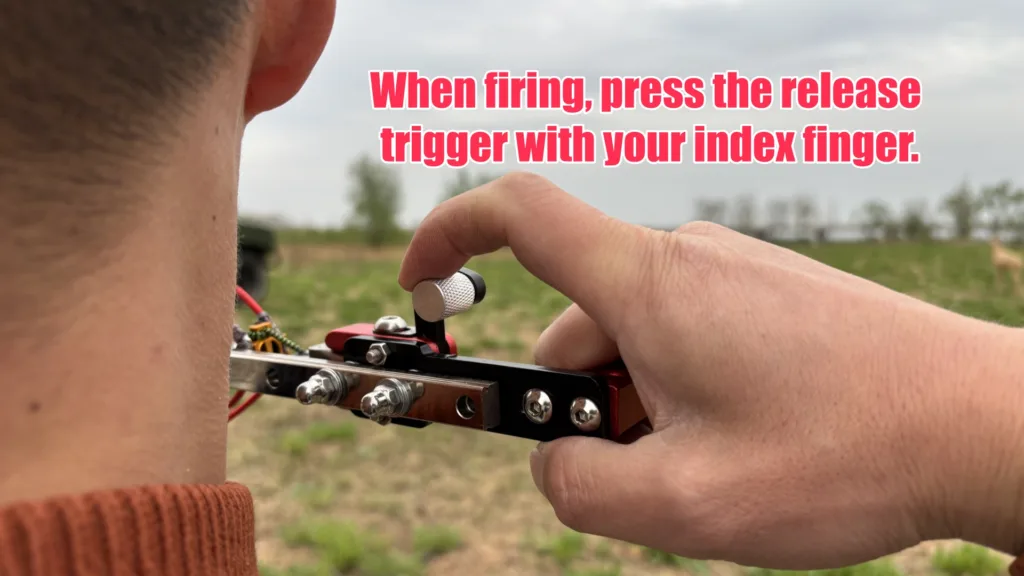
When firing, press the release trigger with your index finger.
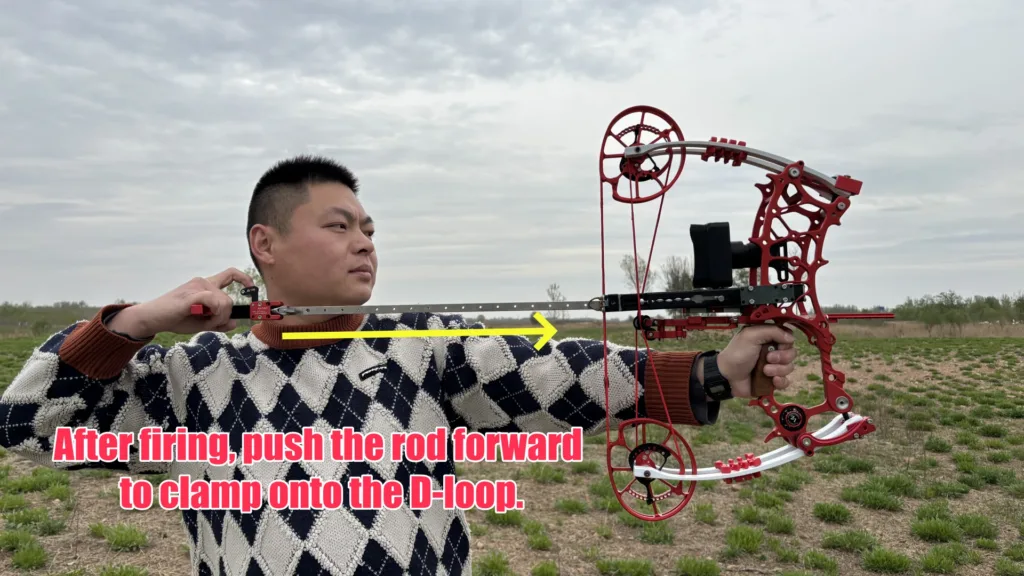
After firing, push the rod forward to clamp onto the D-loop.


Can’t wait to try this out is the the one with most fps steal balls With night vision.
you have a complete catalog of all your products